
How To Screen Record On iPhone: Screen recording on an iPhone has become an invaluable tool for many users, allowing them to capture important moments, share experiences, and troubleshoot issues. Whether you’re showcasing a new app, recording gameplay, or creating instructional videos, knowing how to screen record on your iPhone can be incredibly useful. In this guide, we’ll walk you through the process step by step.
How To Screen Record On iPhone
One of the most convenient features of iOS is its built-in screen recording capability. “How To Screen Record On iPhone” To access this feature, navigate to your iPhone’s Settings app and select “Control Center.” From there, tap “Customize Controls” and add “Screen Recording” to your Control Center.
Recording with Control Center
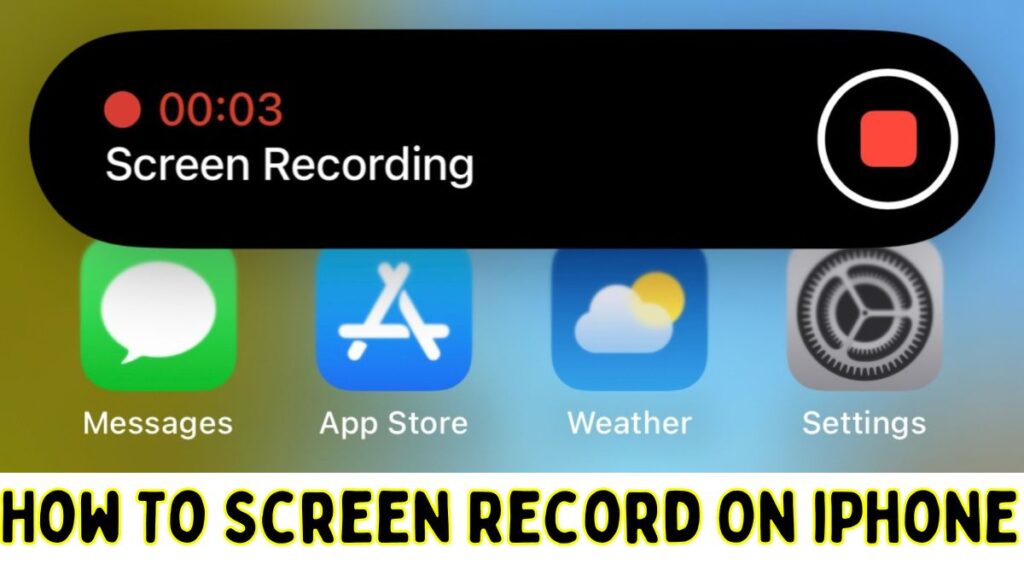
How To Screen Record On iPhone: Once you’ve added the screen recording button to your Control Center, initiating a screen recording is simple. Swipe down from the top-right corner of your screen to access Control Center, then tap the screen recording button (it looks like a solid circle within a circle). Your iPhone will then begin recording whatever is displayed on your screen.
Recording Audio with Screen Recording
If you want to include audio in your screen recording, you can enable microphone audio by long-pressing the screen recording button in Control Center. This will bring up a menu where you can toggle on “Microphone Audio” to capture both the audio from your device and any ambient sound.
Editing Screen Recordings
After you’ve finished recording, your screen recording will be saved to your Photos app. From there, you can easily edit it by selecting the recording and tapping “Edit.” This allows you to trim the recording, add annotations, and adjust the playback speed as needed.
Using Third-Party Apps
How To Screen Record On iPhone: While the built-in screen recording feature is robust, there are also third-party apps available that offer additional features and customization options. Some popular options include “AZ Screen Recorder” and “DU Recorder,” which offer features like customizable settings and live streaming capabilities.
Sharing Screen Recordings
Once you’ve edited your screen recording to your satisfaction, you can easily share it with others. Simply select the recording in your Photos app, tap the share icon, and choose your desired sharing method. You can share your recording via AirDrop, Messages, Email, or by uploading it to a cloud storage service.
Tips for Better Screen Recording
To ensure the highest quality screen recordings, consider factors like lighting, sound, and device settings. Recording in a well-lit environment and using a quality microphone can significantly improve the clarity of your recordings. Additionally, adjusting your device’s display settings can help reduce glare and improve visibility.
Conclusion
How To Screen Record On iPhone: Screen recording on an iPhone opens up a world of possibilities for users, allowing them to capture and share their experiences with ease. Whether you’re creating content for work, school, or personal use, knowing how to screen record on your iPhone is a valuable skill that can enhance your productivity and creativity.
Read More:
iPhone 14 Pro Max: The Future of Mobile Photography Unveiled – Prepare to Be Amazed
Everything You Need to Know About the iPhone 14 Pro Max Launch
Look at the Game-Changing Camera Upgrades of the iPhone 14 Pro Max
5 Mind-Blowing Features of the iPhone 14 Pro Max That Will Change Your Life
Meta Started labeling AI-Generated Images on Facebook and Instagram
Macbook 2024 Have Intel Processor
How To update Zoom | How To Update Zoom Without Signing in